Created Date: 30 Jan
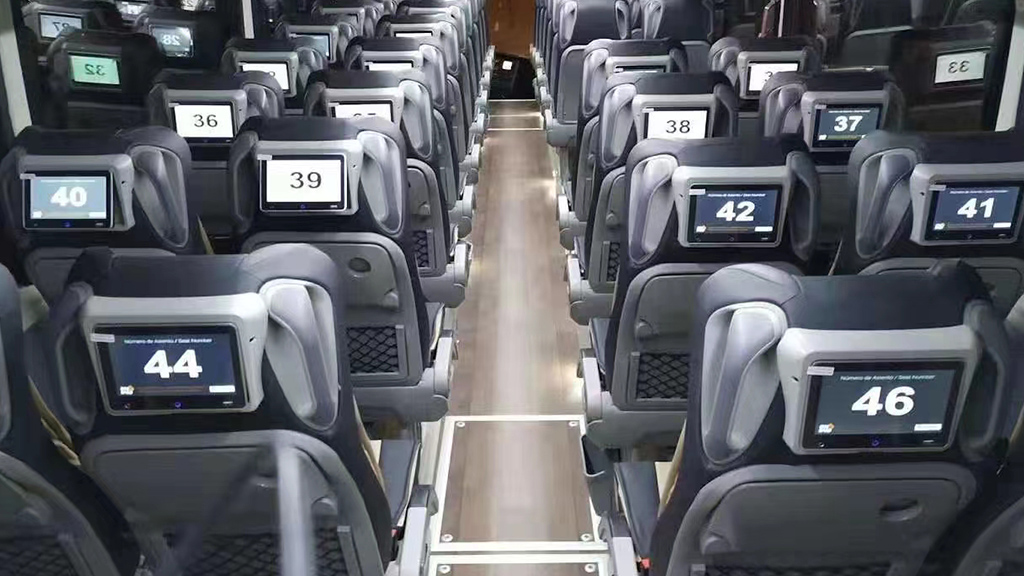
Installation Guide for Seat Back Display
Step 1: Prepare materials
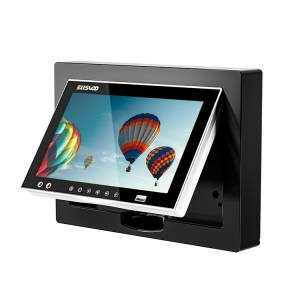
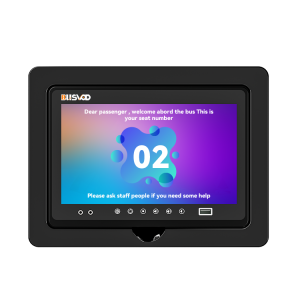
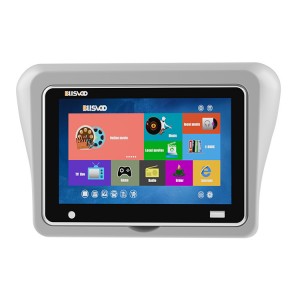
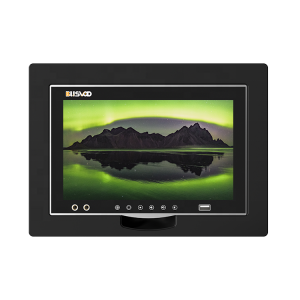
1. Display: Choose a display that is suitable for your seat size and type.
2. Bracket: Choose a bracket that is suitable for the shape and size of your seat back.
3. Screws and nuts: used to secure the monitor bracket.
4. Cable: used to connect the monitor and power supply.
Step 2: Install the bracket
1. Fix the bracket on the back of the seat in the selected position.
2. Fix the bracket firmly with screws and nuts.
Step 3: Connect the monitor
1. Thread the cable through the bracket on the back of the seat and connect it to the power supply and monitor.
2. Check if the cable is flat and avoid compression and wear.
The installation of the seat back display is simple and easy, and can be completed in just a few minutes. By using our installation guide, you will be able to easily add displays to bus seats, providing more convenience and entertainment experience for your passengers. Let's give it a try now!


